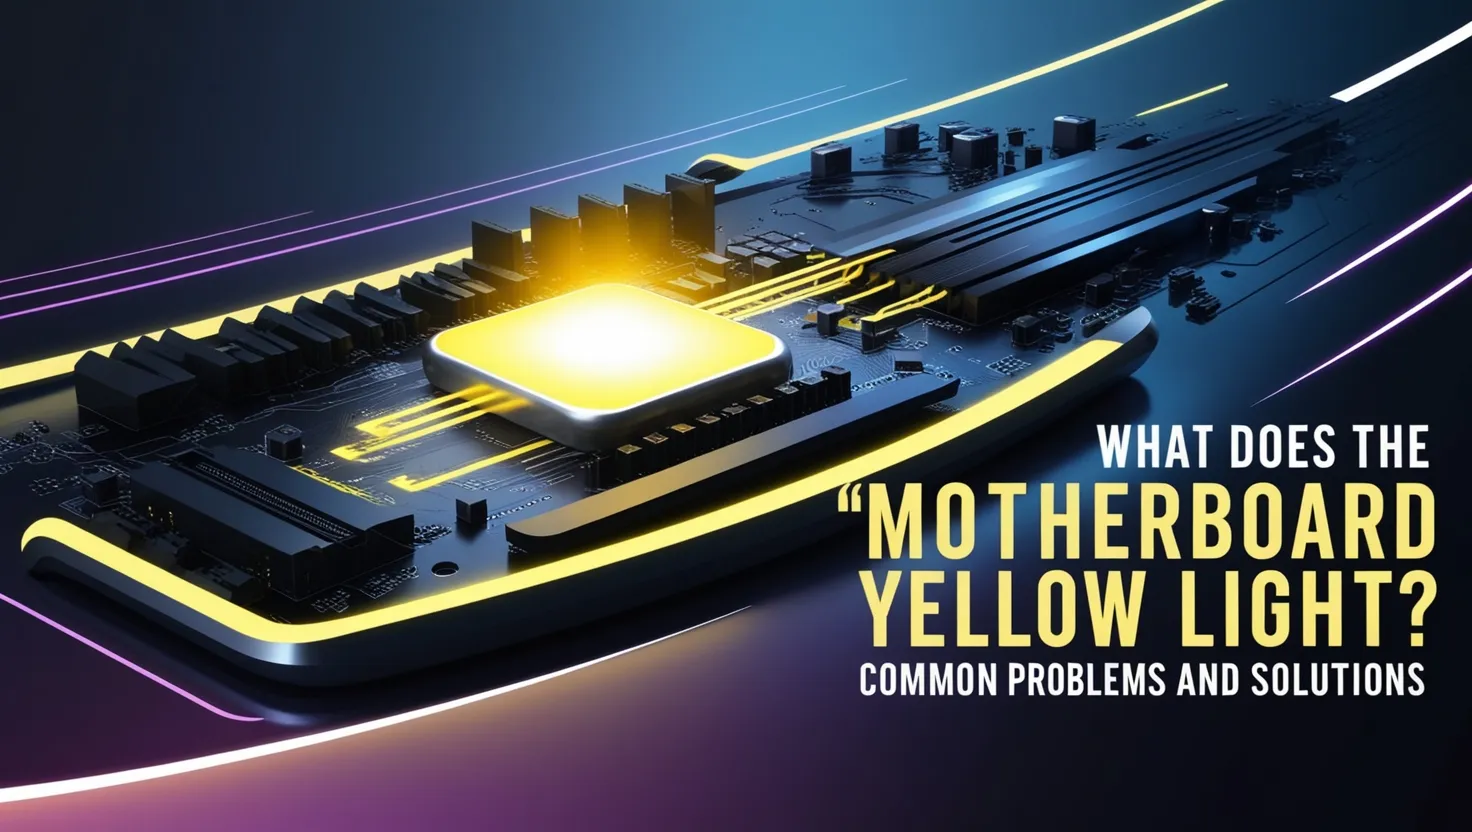
What Does the ‘Motherboard Yellow Light’ Indicate? Common Problems and Solutions-The sight of a motherboard yellow light can be unsettling, especially when your computer fails to start up as expected. This yellow or amber LED light serves as a diagnostic indicator that signals a problem with the system’s hardware or power components. For those who aren’t familiar with motherboard diagnostics, understanding the cause of the yellow light can be a bit tricky. However, by recognizing common problems and knowing how to address them, you can often resolve the issue without professional assistance. In this article, we’ll explore the potential causes of the motherboard yellow light error and the most effective solutions.
Understanding the Motherboard Yellow Light
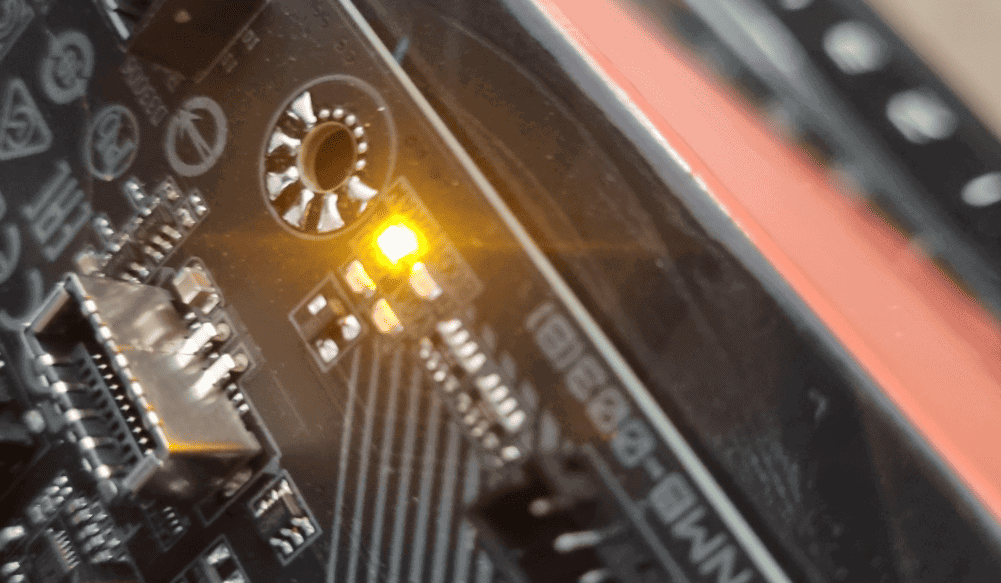
The motherboard yellow light is an LED that lights up during the startup process or when the system encounters an issue that prevents it from booting properly. On many modern motherboards, a color-coded LED system is used to indicate the status of different components. When the motherboard yellow light appears, it is usually trying to communicate a hardware-related issue, and it’s important to investigate further.
While the exact cause of the yellow light can vary depending on the motherboard’s manufacturer and model, it typically indicates a problem related to the power supply, hardware components, or system overheating. The light may stay on continuously or blink in a pattern, depending on the motherboard’s design.
Common Causes of the Motherboard Yellow Light
Several issues can trigger the motherboard yellow light error. Let’s take a look at the most common causes and how they affect your system.
1. Power Supply Issues
One of the primary causes of the motherboard yellow light is an issue with the power supply unit (PSU). The PSU is responsible for distributing power to all the components of your computer, and if it fails or isn’t supplying enough power, the motherboard might display a yellow light as a warning.
A PSU that is underpowered, malfunctioning, or faulty can result in inconsistent power delivery to the motherboard, preventing it from booting up properly. Inadequate power is especially common when upgrading to more power-hungry components, such as a new graphics card or multiple hard drives.
2. Loose or Improper Hardware Connections
:max_bytes(150000):strip_icc()/SPR-wire-connection-problems-and-solutions-1152877-02_30057-db72c0efeae64ff5b6f0b32f6dddd49a.jpg)
Another common cause of the motherboard yellow light error is a loose or improperly seated hardware component. Your motherboard relies on proper connections to operate correctly, and any loose connections can prevent it from starting up.
This is particularly true for cables that supply power to the motherboard, including the 24-pin ATX cable and the 8-pin CPU power cable. Additionally, the CPU, RAM, and expansion cards (such as the GPU) must be securely seated. If any of these components are not fully inserted or are improperly connected, the motherboard will fail to boot, often resulting in the yellow light indicator.
3. Faulty RAM or Memory Issues
Faulty or improperly seated RAM (Random Access Memory) can cause the motherboard to show the yellow light. The motherboard might not be able to detect one or more memory modules properly, preventing the system from booting.
This issue is typically caused by faulty memory modules, an incorrect RAM configuration, or RAM that is incompatible with the motherboard. Even slight misalignments or dirty contacts on the RAM sticks can prevent them from functioning properly and trigger the motherboard yellow light.
4. Overheating Problems
Overheating is another culprit that can cause the motherboard yellow light to appear. If any component, particularly the CPU or GPU, is running too hot, the motherboard may display the yellow light as a warning. This is often a result of insufficient cooling, poor airflow, or dust buildup in the system.
When components overheat, they can stop functioning correctly, leading to system instability and failure to boot. If your computer shuts down due to overheating or if the CPU cooler isn’t working properly, this can also trigger the yellow light indicator. (Read More: Motherboard Light Orange Issue: What You Need to Know)
5. BIOS or Firmware Issues
The BIOS (Basic Input/Output System) or UEFI (Unified Extensible Firmware Interface) controls the boot process, and any issues with the BIOS could cause the motherboard to fail to initialize the system correctly. A corrupted BIOS or incorrect BIOS settings can trigger the motherboard yellow light.
Outdated firmware can also cause issues during the boot process, particularly when newer hardware is added to the system. If your motherboard’s BIOS cannot recognize or properly configure newer components, it might fail to boot, leading to the yellow light error.
How to Fix the Motherboard Yellow Light
Once you’ve identified the potential causes of the motherboard yellow light, it’s time to work on resolving the issue. Let’s take a closer look at the steps you can follow to troubleshoot and fix the problem.
1. Check the Power Supply Unit (PSU)
If you suspect that the power supply is causing the motherboard yellow light, the first step is to ensure that the PSU is functioning correctly. Check the connections between the PSU and the motherboard, making sure that the 24-pin ATX and 8-pin CPU power cables are securely connected.
You may also want to test the PSU with a PSU tester or swap it out with a known-working power supply to see if that resolves the issue. If the motherboard yellow light goes away after replacing the PSU, it is likely that the original PSU was faulty or underpowered. (Read More: Motherboard Light Orange Issue: What You Need to Know)
2. Reseat All Hardware Components
A loose or improperly seated component can easily trigger the motherboard yellow light. To resolve this, turn off your computer and disconnect all power sources. Begin by reseating the RAM modules, ensuring they are securely locked into their slots.
Next, reseat the CPU and any expansion cards, such as the graphics card. If you are using additional storage devices, such as SSDs or hard drives, check their connections as well. Once you’ve reseated everything, reconnect the power and attempt to boot the system again.
3. Test the RAM
If you suspect that faulty RAM is causing the issue, test each memory module individually. Remove all but one RAM stick and attempt to boot the system. If the system boots successfully with one stick of RAM, try swapping out each stick to identify the faulty module.
Additionally, ensure that the RAM is compatible with your motherboard. Refer to the motherboard’s manual or the manufacturer’s website to check the specifications for supported memory types and speeds. (Read More: Motherboard Light Orange Warning: Troubleshooting Guide)
4. Improve Cooling and Address Overheating

If overheating is the cause of the motherboard yellow light, you’ll need to improve the cooling in your system. Start by cleaning the inside of your case to remove dust buildup from cooling fans, vents, and heatsinks.
Ensure that all cooling fans are working correctly and that airflow within the case is not obstructed. You may also want to reapply thermal paste to the CPU, especially if it’s dried out. If necessary, upgrade your cooling solution by adding more fans or installing a better CPU cooler to reduce temperatures.
5. Update or Reset the BIOS
If the issue is related to the BIOS, try resetting it to the default settings. You can do this by removing the CMOS battery from the motherboard for a few minutes and then reinserting it. This will clear any custom settings and reset the BIOS to factory defaults.
If you suspect that the BIOS is outdated or corrupted, visit the motherboard manufacturer’s website to download the latest BIOS version. Be sure to follow the instructions provided by the manufacturer to safely update the BIOS.
Additional Considerations
If none of the above troubleshooting steps resolve the motherboard yellow light issue, the problem may be more complex. It could be due to a damaged motherboard, a faulty CPU, or another critical component. In such cases, it may be necessary to replace the damaged parts or seek professional repair services.
It’s also important to ensure that your system’s power supply meets the required specifications for your components. If you’ve upgraded any hardware recently, make sure the PSU is sufficient to handle the increased power demands.
By following these steps and thoroughly investigating the cause of the motherboard yellow light, you can often identify and resolve the underlying issue, getting your system back up and running smoothly.